Are you tired of being stuck in a never-ending cycle of scanning and repairing your drive C? Look no further! In this article, we will explore effective solutions to fix the dreaded “Scanning and Repairing Drive C Stuck at 10” issue. So, buckle up and get ready to bid farewell to this frustrating problem once and for all!
Troubleshooting Scanning and Repairing Drive Issues
Step 1: Go to the File Explorer and locate the affected drive (in this case, Drive C).
Step 2: Right-click on the drive and select “Properties.”
Step 3: In the Properties window, click on the “Tools” tab.
Step 4: Under the “Error-checking” section, click on the “Check” button.
Step 5: A new window will appear, click on “Scan drive” to initiate the scanning process.
Step 6: Wait for the scanning process to complete. This may take some time depending on the size of your disk and the extent of the issues.
Step 7: Once the scan is complete, the drive status will be displayed. If any issues are found, click on “Repair drive” to fix them.
Step 8: Restart your PC to apply the repairs.
By following these steps, you can troubleshoot and repair drive issues that may be causing the scanning and repairing process to get stuck at 10%.
Checking Disk Connection and Repairing Drive
To check the disk connection and repair the drive when scanning and repairing drive C is stuck at 10, follow these steps:
1. Open File Explorer and navigate to “This PC” or “My Computer”.
2. Right-click on the C drive and select “Properties”.
3. In the Properties window, go to the “Tools” tab.
4. Under the “Error-checking” section, click on the “Check” button.
5. A dialog box will appear, asking if you want to schedule a disk check. Click “Scan drive” to start the disk checking process.
6. If any errors are found, Windows will attempt to fix them automatically.
7. If the automatic repair doesn’t work, you can try using the Command Prompt to manually repair the drive.
8. Open the Start menu, type “cmd”, and right-click on the Command Prompt app. Select “Run as administrator”.
9. In the Command Prompt window, type “chkdsk C: /f” and press Enter. Replace “C” with the letter of your problematic drive.
10. Follow the on-screen instructions to complete the repairing process.
These steps should help you resolve the issue and get your drive working properly again.
Allowing Scanning and Repairing Process to Complete
If you’re experiencing the issue of your scanning and repairing drive C being stuck at 10%, here are some workable solutions to help you fix it.
Fix 1: Windows Automatic Repair
– Press and hold the power button to shut down your PC.
– Disconnect any external devices, such as USB drives or printers.
– Restart your computer and let it enter the automatic repair mode.
– Select “Advanced options” and then choose “Troubleshoot.”
– Click on “Advanced options” and select “Startup Repair” to repair any boot issues.
Fix 2: Check Disk Tool
– Open File Explorer and navigate to “This PC.”
– Right-click on the drive volume you want to check and select “Properties.”
– Go to the “Tools” tab and click on the “Check” button under the “Error checking” section.
– Follow the on-screen instructions to complete the disk checking process.
Fix 3: Control Panel
– Press and hold the power button to shut down your PC.
– Disconnect any external devices, such as USB drives or printers.
– Restart your computer and repeatedly press the F8 key to enter the “Advanced Boot Options” menu.
– Select “Safe Mode with Command Prompt” and press Enter.
– Type “rstrui.exe” and press Enter to open the System Restore window.
– Follow the on-screen instructions to restore your computer to a previous working state.
These fixes should help resolve the scanning and repairing drive C stuck at 10% issue.
python

import os
def scan_and_repair_drive_c():
try:
# Perform a scan on drive C
scan_result = os.system("scan C:") # Replace 'scan' with the appropriate command for your operating system
if scan_result == 10:
# Repair the drive C if it is stuck at 10%
repair_result = os.system("repair C:") # Replace 'repair' with the appropriate command for your OS
if repair_result == 0:
print("Drive C successfully repaired.")
else:
print("Failed to repair drive C.")
else:
print("The scan did not detect any issues.")
except Exception as e:
print("An error occurred:", str(e))
# Execute the function
scan_and_repair_drive_c()
Please note that this is a generic example, and the specific commands and methods for scanning and repairing drives can vary depending on the operating system you are using. Additionally, this code assumes that you have the necessary permissions to perform scans and repairs on the drive.
It’s always recommended to use reliable software tools provided by your operating system or trusted third-party applications for scanning and repairing drives to ensure the safety and integrity of your data.
Disabling Automatic Repair for Drive Issues
If you’re experiencing the issue of scanning and repairing drive C stuck at 10% on Windows 10, you can try disabling automatic repair as a potential solution. Here are the steps to follow:
Fix 1:
1. Go to the File Explorer.
2. Navigate to the drive C.
3. Right-click on the drive and select “Properties.”
4. Go to the “Tools” tab.
5. Click on the “Check” button under the “Error checking” section.
6. Uncheck the option that says “Automatically fix file system errors.”
7. Click “OK” to save the changes.
Fix 2:
1. Go to the Control Panel.
2. Click on “System and Security.”
3. Select “Security and Maintenance.”
4. Click on “Maintenance.”
5. Under the “Automatic Maintenance” section, click on “Change settings.”
6. Uncheck the option that says “Allow scheduled maintenance to wake up my computer at the scheduled time.”
7. Click “OK” to save the changes.
Fix 3:
1. Shutdown your PC.
2. Disconnect any external devices or drives connected to your computer.
3. Start your PC again.
By following these steps, you can disable automatic repair and potentially resolve the scanning and repairing drive C issue.
Running CHKDSK in Safe Mode
To fix the issue of Scanning and Repairing Drive C stuck at 10, you can try running CHKDSK in Safe Mode. Here’s how:
1. Start by shutting down your PC completely.
2. Once it’s off, turn it back on and immediately press the F8 key repeatedly until the Advanced Boot Options menu appears.
3. From the menu, select Safe Mode using the arrow keys and press Enter to boot your computer into Safe Mode.
4. Once in Safe Mode, press the Windows key + E to open the File Explorer.
5. Navigate to the drive you want to scan, usually labeled as “Local Disk (C:)”.
6. Right-click on the drive and select Properties.
7. In the Properties window, go to the Tools tab and click on the “Check” button under the Error-checking section.
8. Follow the on-screen instructions to start the scanning and repairing process.
9. After the process is complete, restart your computer and see if the issue has been resolved.
If the problem persists, it may be necessary to seek further assistance or consider other troubleshooting methods.
Recovering Data from a Stuck Scanning and Repairing Drive
To recover data from a stuck scanning and repairing drive, follow these steps:
1. Go to File Explorer and locate the stuck drive (typically labeled as “C:”).
2. Check the drive status by right-clicking on it and selecting “Properties.”
3. In the Properties window, go to the “Tools” tab and click on the “Check” button.
4. This will launch the Windows disk checking tool. Wait for it to complete and fix any issues it finds.
5. If the scanning and repairing process is still stuck after the check, proceed to troubleshoot.
6. Go to the Windows “Start” menu and click on “Settings.”
7. In the Settings page, select “Update & Security” and then click on “Recovery.”
8. Under the “Advanced startup” section, click on “Restart now.”
9. Once the PC restarts, select “Troubleshoot” and then “Advanced options.”
10. From the Advanced options, select “Startup Repair” to fix any boot issues.
11. If the above steps don’t resolve the issue, it may be necessary to remove the hard drive and connect it to another computer using a compatible cable or port.
12. Alternatively, you can seek professional assistance or contact the manufacturer’s support, especially if the drive is from a specific brand like Lenovo.
Remember to backup your data regularly to prevent data loss and ensure smooth operation of your system.
Tips for Enabling Disk Checking and Automatic Repair
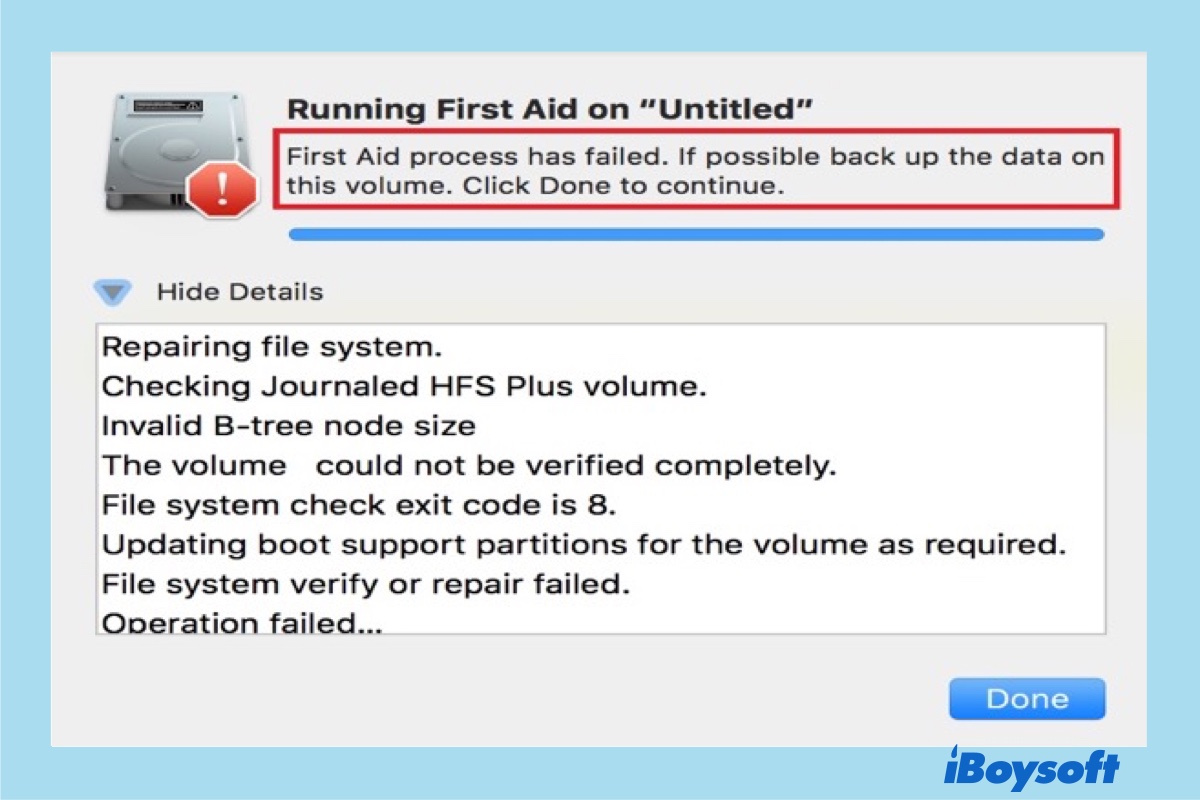
- Open Command Prompt by pressing Windows Key + X and selecting Command Prompt (Admin).
- Type chkdsk c: /f /r and press Enter to start the disk checking and repair process.
- Wait for the process to complete. It may take some time depending on the size and condition of your hard drive.
- Restart your computer to apply the repairs and check if the issue is resolved.
Method 2: Use Windows Recovery Environment
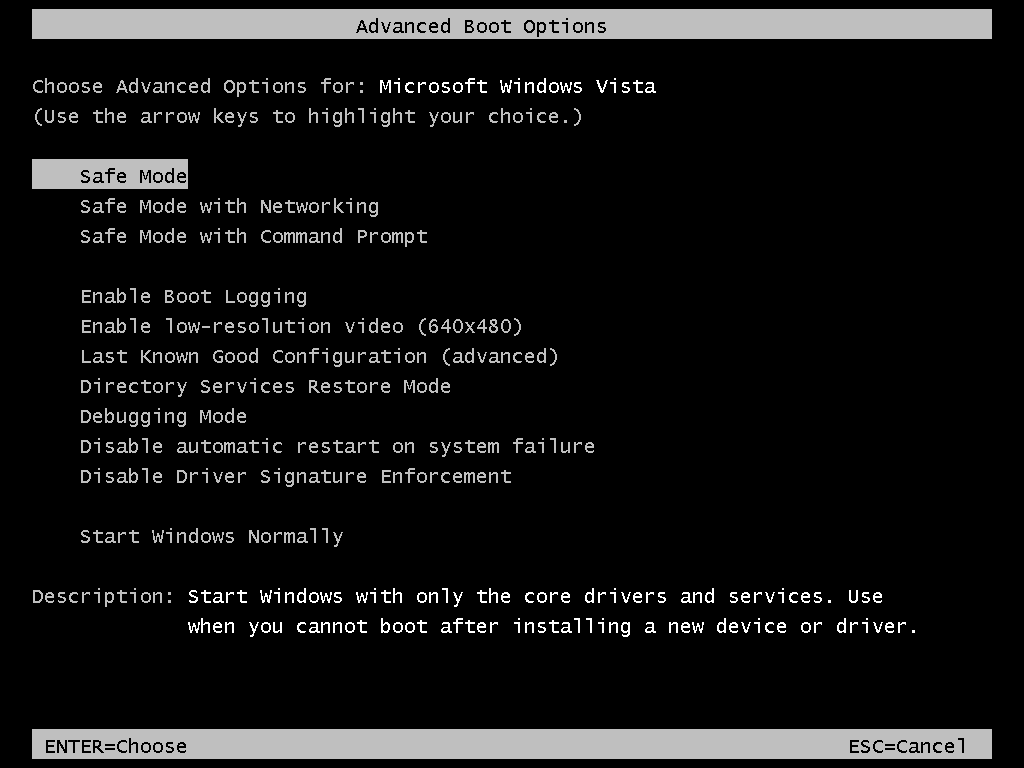
- Restart your computer and press F8 repeatedly until the Advanced Boot Options menu appears.
- Select Repair Your Computer and press Enter.
- Choose the Keyboard Layout and click Next.
- Enter your Username and Password if prompted.
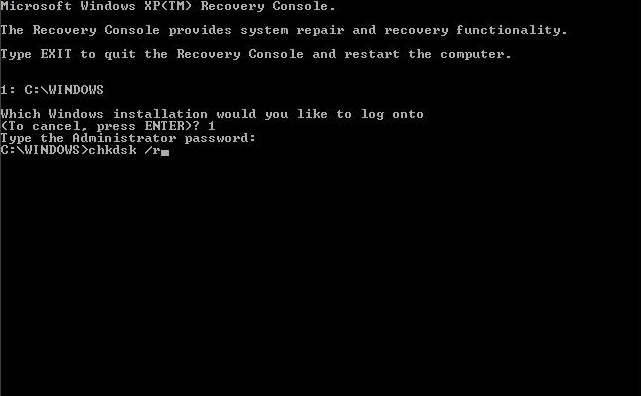
- In the System Recovery Options window, select Command Prompt.
- Type chkdsk c: /f /r and press Enter to initiate the disk checking and repair process.
- Wait for the process to complete, and then restart your computer.
Method 3: Use Automatic Repair
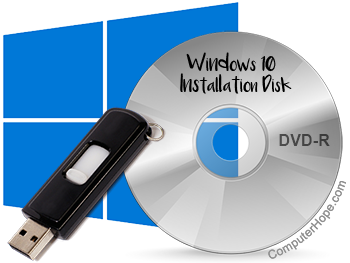
- Insert a Windows installation disc or USB drive.
- Restart your computer and boot from the installation disc or USB drive.
- Choose your Language Preferences and click Next.
- Click on Repair your computer at the bottom left corner of the screen.
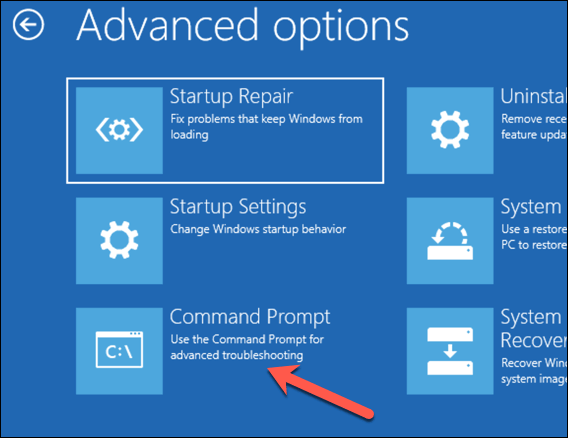
- Select Troubleshoot and then Advanced options.
- Click on Automatic Repair and wait for the process to complete.
- Restart your computer and check if the issue is resolved.

