Navigating the labyrinth of Windows 7 system crashes can be a daunting task. In this article, we unravel the mystery and provide effective solutions to help you conquer these frustrating crashes once and for all.
Understanding Windows 7 system crashes
Understanding Windows 7 System Crashes
When your Windows 7 system crashes, it can be frustrating and disruptive. But don’t worry, there are solutions to help you get back on track.
First, try Startup Repair to automatically fix common startup issues. This tool can repair corrupt system files and resolve startup problems.
If that doesn’t work, you can try System Restore. This will take your computer back to a previous state, undoing any recent changes that may have caused the crash.
If you’re still experiencing crashes, it might be a hardware issue. Use the Windows Memory Diagnostic to check for any memory problems.
Another option is to update your drivers. Outdated or incompatible drivers can cause crashes. Visit the manufacturer’s website to download and install the latest drivers for your hardware.
If none of these solutions work, it’s best to seek help from Microsoft Support or help forums. They can provide more specific troubleshooting steps based on your unique situation.
Remember to always back up your important files before attempting any repairs or installations.
Clearing temporary files and running a disk check
To clear temporary files and run a disk check in Windows 7, follow these steps:
1. Open the Start menu and type “Disk Cleanup” in the search bar. Select the “Disk Cleanup” application.
2. In the Disk Cleanup window, select the drive you want to clean up (usually the C: drive) and click “OK”.
3. Check the boxes next to the types of files you want to delete (such as temporary files) and click “OK”.
4. To run a disk check, open the Start menu and type “cmd” in the search bar. Right-click on “Command Prompt” and select “Run as administrator”.
5. In the Command Prompt window, type “chkdsk /f” and press Enter. If the disk check cannot be performed immediately, you will be prompted to schedule it for the next system restart. Type “Y” and press Enter to confirm.
6. Restart your computer to begin the disk check process.
These steps can help resolve crashing issues and errors related to temporary files and disk errors.
Running system file checker and memory check
Running System File Checker and Memory Check
If your Windows 7 system is experiencing frequent crashes or encountering the dreaded Blue Screen of Death (BSOD), running System File Checker and Memory Check can help diagnose and fix the issue.
To run System File Checker, follow these steps:
1. Press the Windows key and type “cmd” to open the Command Prompt.
2. Right-click on Command Prompt and select “Run as administrator.”
3. In the Command Prompt, type “sfc /scannow” and press Enter.
4. Wait for the scan to complete and follow any instructions provided.
To run Memory Check, follow these steps:
1. Press the Windows key and type “mdsched” to open the Windows Memory Diagnostic tool.
2. Select “Restart now and check for problems.”
3. Wait for the computer to restart and the tool to scan for memory issues.
Running these checks can help identify and resolve any corrupted system files or memory problems that may be causing your system to crash. If the issue persists, consider seeking further assistance from help forums or contacting your computer manufacturer (such as Dell) for additional support.
Updating drivers manually or automatically
Updating Drivers Manually or Automatically
To prevent system crashes and resolve issues like the Blue Screen of Death (BSOD), it is important to keep your drivers up to date. Windows 7 provides two methods for updating drivers: manual and automatic.
Manual Update:
1. Identify the driver causing the problem by referring to error messages or the BSOD.
2. Visit the manufacturer’s website to download the latest driver version.
3. Install the driver by following the provided instructions.
Automatic Update:
1. Open the Device Manager by right-clicking on the Start button and selecting “Device Manager.”
2. Expand the category of the device you want to update.
3. Right-click on the device and select “Update driver.”
4. Choose the option to automatically search for updated driver software.
By updating drivers, you can often resolve crashing issues and improve system stability. Remember to create a backup or create a system restore point before making any changes to your drivers.
Scanning for malware and virus, and reinstalling the system
- Step 1: Open Task Manager by pressing Ctrl+Shift+Esc.
- Step 2: In the Processes tab, end any suspicious or unfamiliar processes by right-clicking on them and selecting End Task.
- Step 3: Download and install a reliable antivirus software if you don’t already have one.
- Step 4: Update the antivirus software to ensure it has the latest virus definitions.

- Step 5: Perform a full system scan using the antivirus software. This may take some time, so be patient.
- Step 6: If any malware or viruses are detected, follow the prompts to quarantine or remove them.
- Step 7: Restart your computer to ensure any remaining malware or viruses are completely removed.
- Step 8: If the system is still crashing or experiencing issues, consider reinstalling the operating system.

- Step 9: Before reinstalling, back up any important files and data to an external storage device.
- Step 10: Insert the Windows 7 installation disc or USB drive and restart your computer.

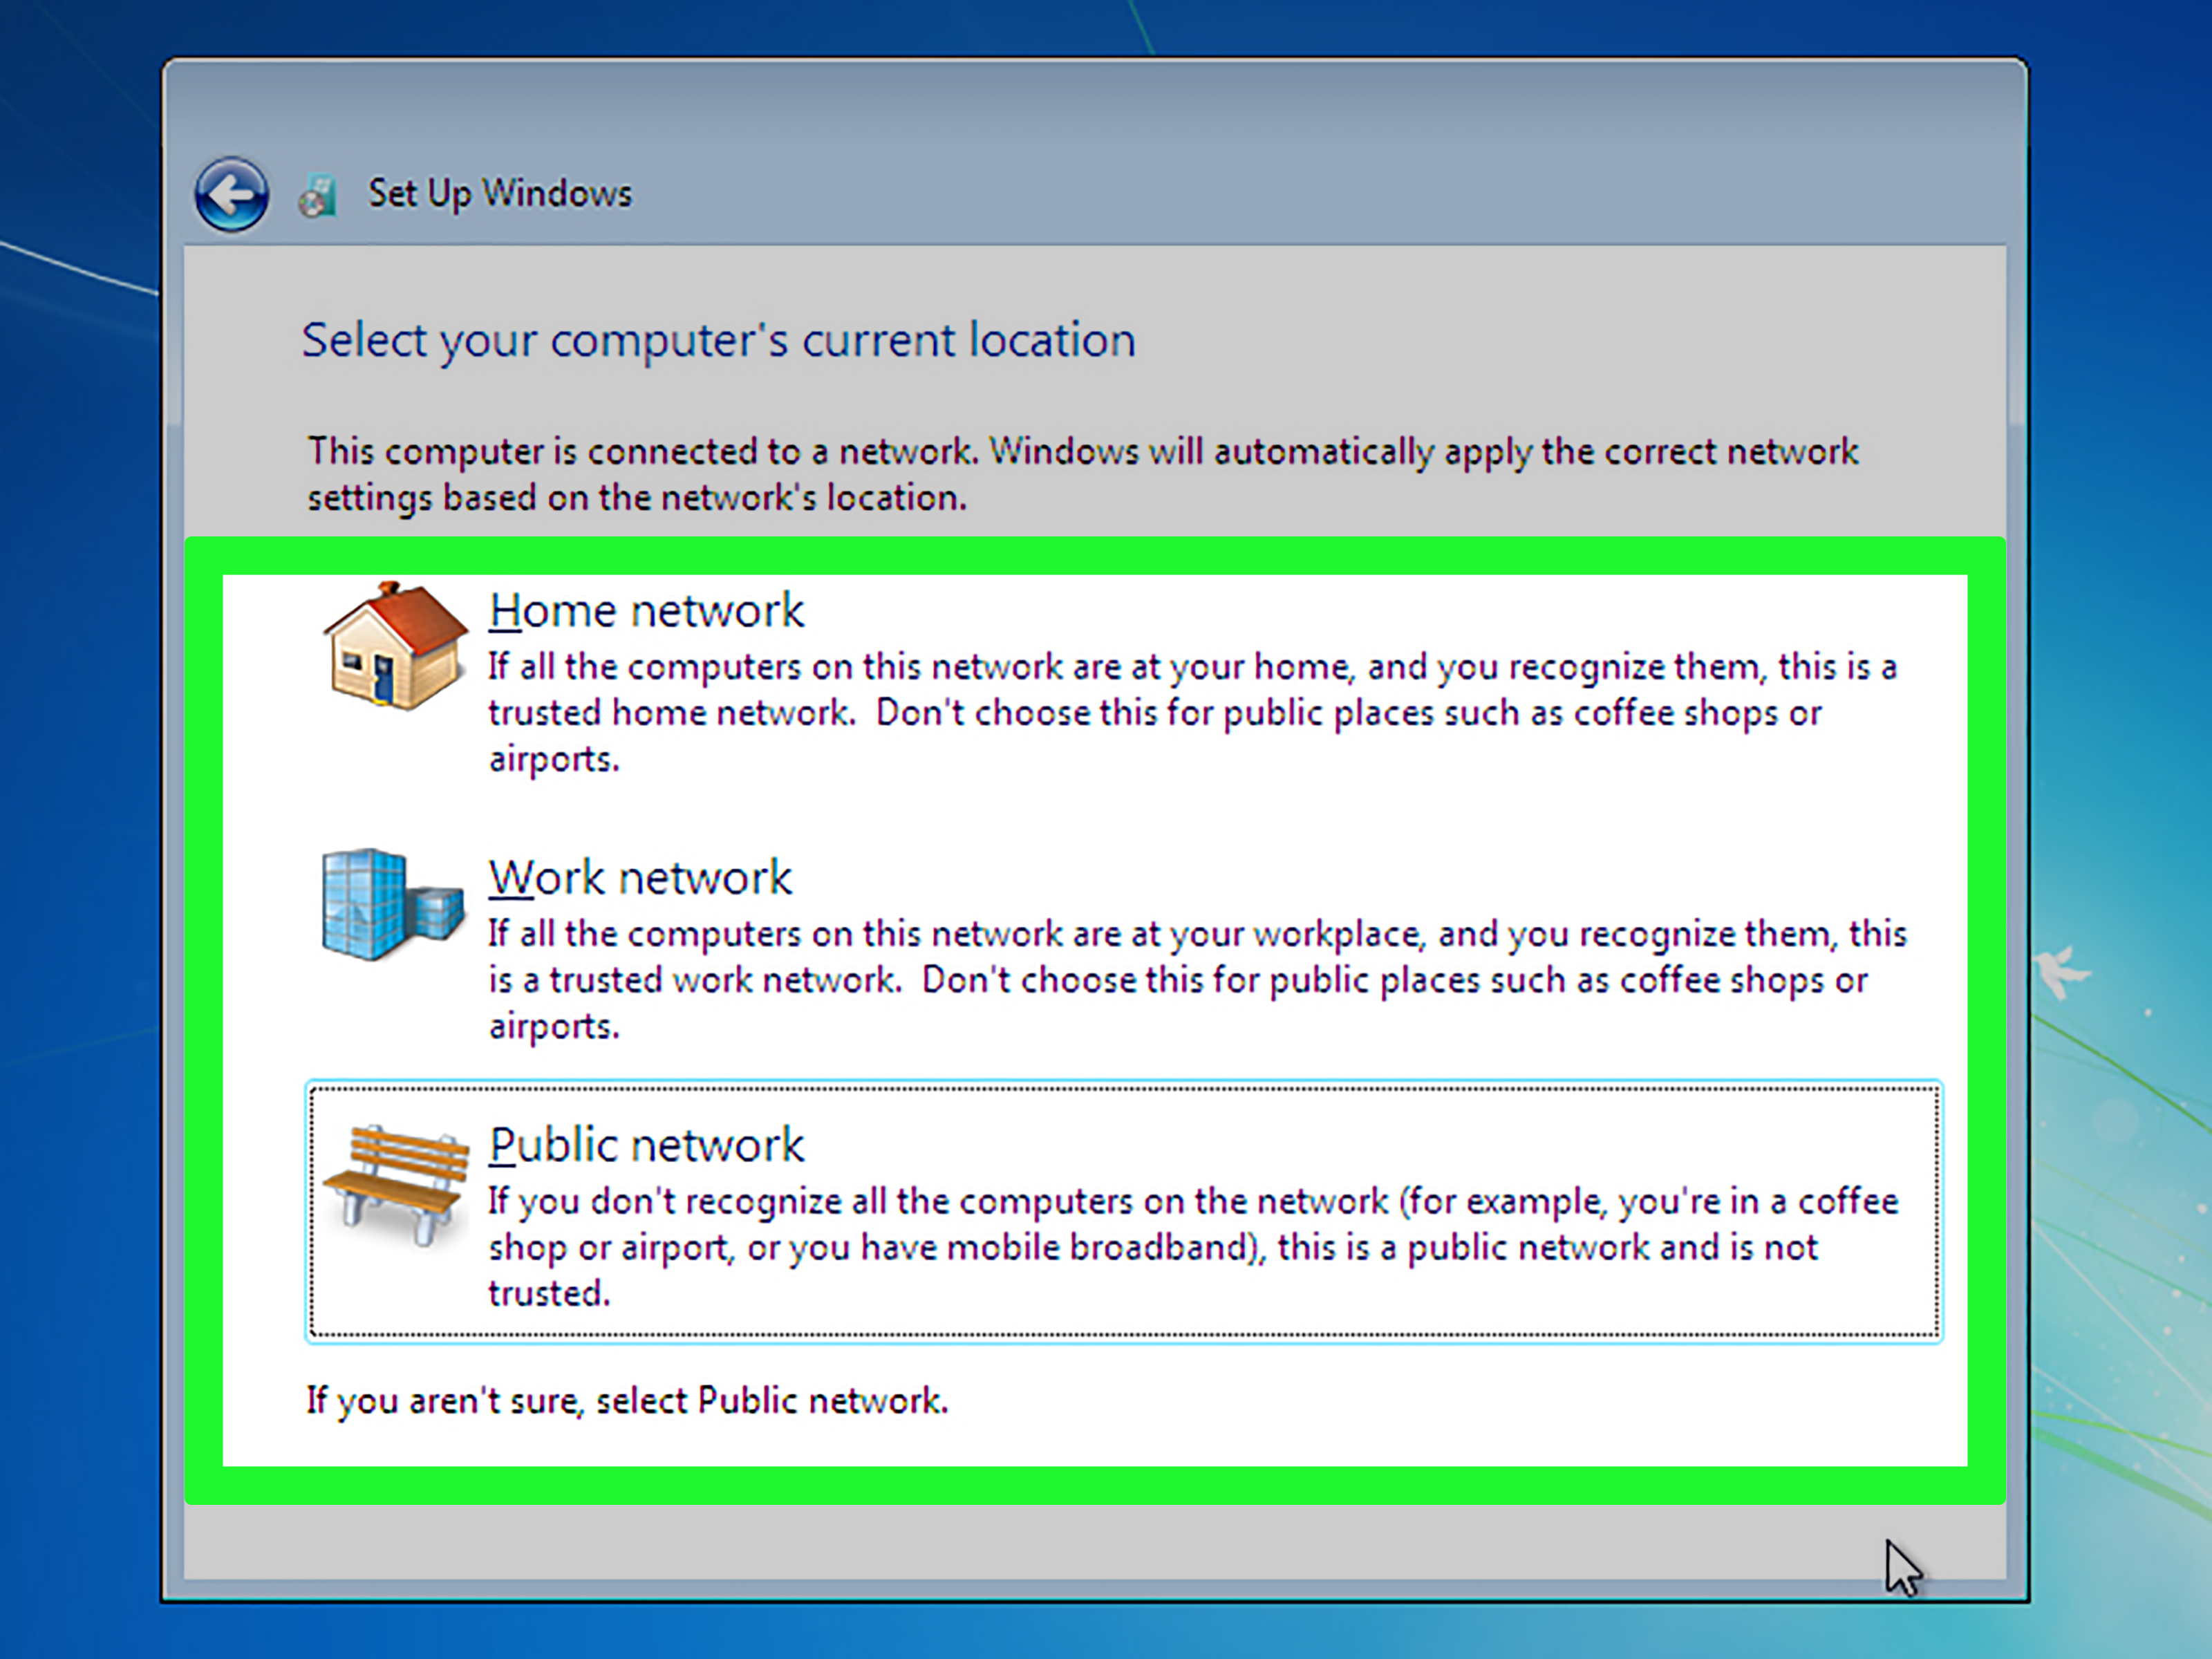
- Step 11: Follow the on-screen instructions to boot from the installation media and proceed with the Windows 7 installation process.
- Step 12: When prompted, choose the Custom (advanced) installation option.
- Step 13: Select the appropriate partition or hard drive where Windows 7 will be installed.
- Step 14: Format the selected partition or hard drive to erase the existing operating system.
- Step 15: Follow the remaining prompts to complete the installation process.
- Step 16: After the installation is finished, reinstall any necessary drivers and software.

- Step 17: Restore your backed-up files and data to their respective locations.

