Tired of your Windows 10 computer freezing up unexpectedly? Discover effective strategies to restore smooth functionality and bid farewell to those frustrating moments of frozen screens.
Freeing up Disk Space and Disconnecting Devices
- Open File Explorer.
- Click on the Start button.
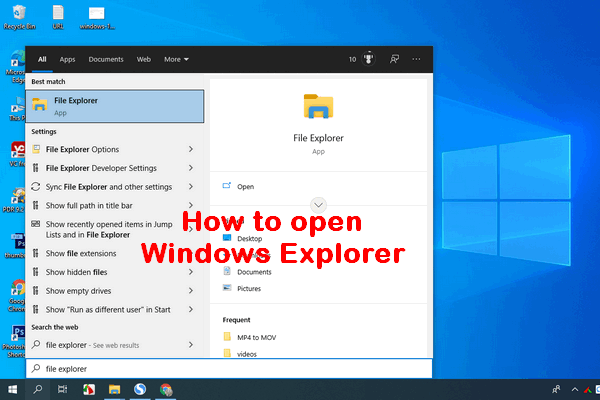
- Scroll down and click on File Explorer.
- Select the This PC option on the left-hand side of the window.
- Right-click on the C: drive and choose Properties.
- Click on the Disk Cleanup button.
- Check the box next to the types of files you want to delete.
- Temporary files, Recycle Bin, and Downloaded Program Files are safe to delete.
- Click on OK and then Delete Files.
Disconnecting Devices:
- Unplug any unnecessary devices connected to your computer.
- Remove USB drives, external hard drives, printers, scanners, etc.

- Restart your computer.
- Check if the freezing issue persists.
Scanning and Repairing Corrupt System Files
If your Windows 10 computer is freezing up constantly, one possible cause could be corrupt system files. Luckily, Microsoft provides a built-in tool to scan and repair these files. Here’s how to do it:
1. Press the Windows key + X, then select “Command Prompt (Admin)” from the menu.
2. In the command prompt window, type sfc /scannow and press Enter.
3. The System File Checker tool will scan your system for corrupt files and attempt to repair them.
4. Once the scan is complete, restart your computer and check if the freezing issue has been resolved.
By following these steps, you can fix freezing problems caused by corrupt system files. If the issue persists, you may need to consider other solutions such as updating drivers or checking for hardware incompatibility.
Updating Device Drivers and Flashing SSD
Updating your device drivers and flashing your SSD can help fix Windows 10 computer freezing up constantly.
To update your device drivers, you can use a tool like Driver Easy. It scans your computer and automatically finds the correct drivers for your hardware. Simply download and install Driver Easy, then run a scan to identify any outdated or incompatible drivers. Click “Update All” to automatically download and install the latest drivers.
Flashing your SSD can also help resolve freezing issues. This process involves updating the firmware on your SSD to the latest version. Visit the manufacturer’s website and download the firmware update tool specific to your SSD model. Follow the instructions provided by the manufacturer to flash your SSD with the latest firmware.
By updating your drivers and flashing your SSD, you can address common causes of computer freezing problems. This should help improve stability and prevent your computer from freezing up constantly.
Performing System Restore or Clean Install of Windows 10
Performing a System Restore or Clean Install of Windows 10 can help fix computer freezing problems. Here’s how:
1. System Restore:
– Press the Windows key + R to open the Run dialog box.
– Type “rstrui” and press Enter.
– In the System Restore window, click “Next” and choose a restore point before the freezing issue occurred.
– Follow the on-screen instructions to complete the restore process.
2. Clean Install:
– Backup your important files and data.
– Download the Windows 10 Media Creation Tool from Microsoft’s website.
– Create a bootable USB or DVD using the tool.
– Restart your computer and boot from the USB/DVD.
– Follow the on-screen instructions to perform a clean installation of Windows 10.
Remember to always backup your data before performing any system changes. These methods can help resolve freezing issues and improve your computer’s performance.
Clearing Temp Files and Adjusting Virtual Memory
- Open the Start Menu by clicking on the Windows icon in the bottom-left corner of the screen.
- Type “Disk Cleanup” in the search bar and select the Disk Cleanup app from the search results.
- Select the drive where Windows is installed (usually the C: drive) and click “OK”.
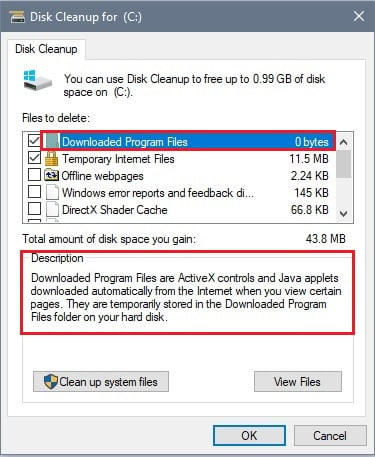
- Check the boxes next to the types of files you want to delete, such as Temporary files, Recycle Bin, and Temporary Internet files.
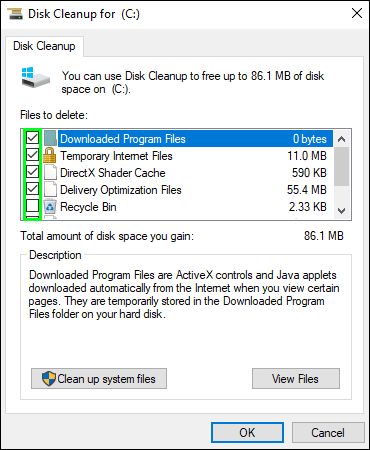
- Click “OK” to start the cleanup process.
- Confirm the deletion by clicking “Delete Files” when prompted.
Adjusting Virtual Memory
- Open the Control Panel by typing “Control Panel” in the search bar and selecting the Control Panel app from the search results.
- Select “System and Security” from the Control Panel options.
- Click on “System” to open the System settings.
- Click on “Advanced system settings” from the left-hand side menu.
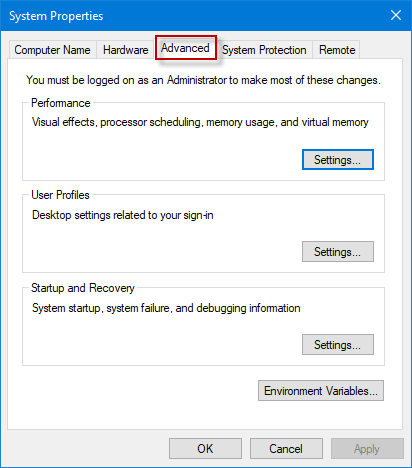
- In the Performance section, click on “Settings”.
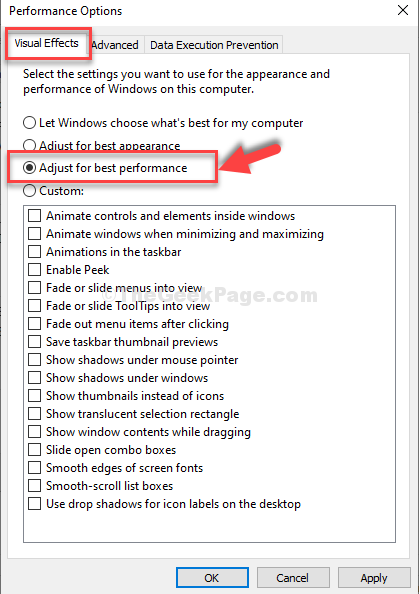
- Go to the Advanced tab in the Performance Options window.
- Click on “Change” under the Virtual Memory section.
- Uncheck the “Automatically manage paging file size for all drives” option.
- Select the drive where Windows is installed (usually the C: drive).
- Select “Custom size” and enter the Initial size and Maximum size values for the virtual memory. (These values depend on your computer’s specifications, but a general guideline is to set the Initial size to the amount of RAM installed and the Maximum size to twice the amount of RAM.)
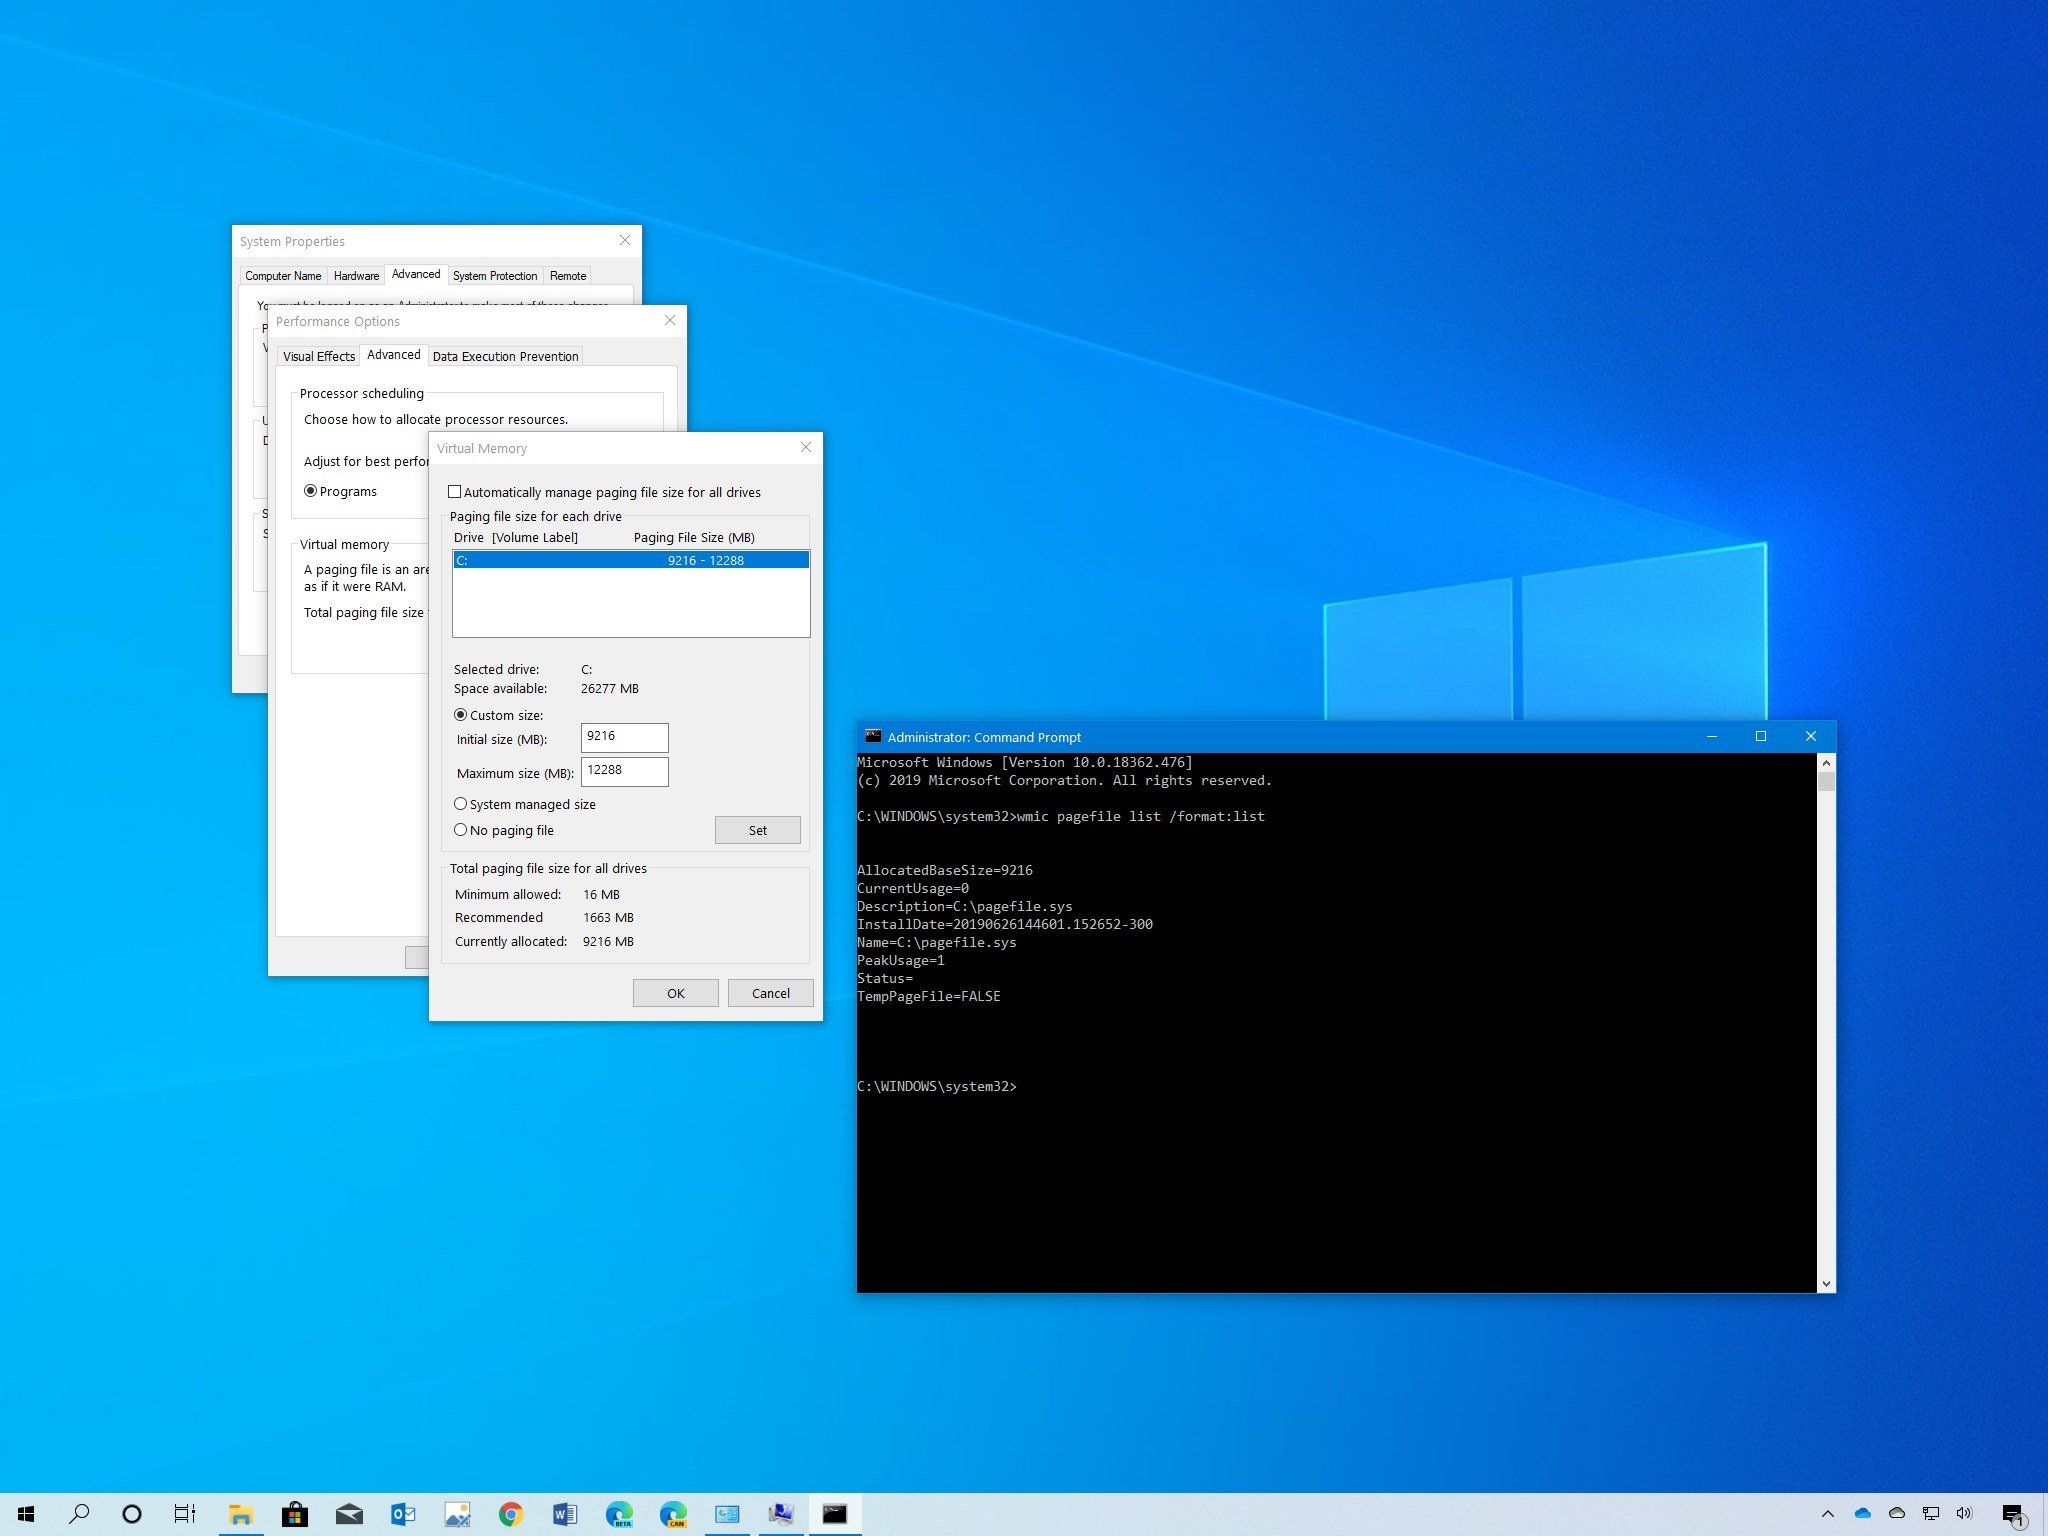
- Click “Set” and then “OK” to save the changes.
- Restart your computer for the changes to take effect.
Repairing System Files and Running Memory Check
Fix Windows 10 Computer Freezing Up Constantly
If your Windows 10 computer is constantly freezing up, it can be frustrating and disruptive to your work. Two troubleshooting steps you can take to address this issue are repairing system files and running a memory check. Below is a table explaining how to perform these tasks:
| Step | Description |
|---|---|
| Repairing System Files | Windows 10 has a built-in System File Checker tool that can scan and repair corrupted system files. To use this tool: |
| 1. Open Command Prompt as an administrator. | |
| 2. Type “sfc /scannow” and press Enter. | |
| 3. Wait for the scan to complete and follow any instructions provided. | |
| Running Memory Check | Memory issues can also cause freezing problems. Windows 10 includes a Memory Diagnostic tool to check for memory problems. To run a memory check: |
| 1. Press Windows key + R to open the Run dialog box. | |
| 2. Type “mdsched.exe” and press Enter. | |
| 3. Choose between restarting now and checking for problems immediately, or checking for problems the next time you restart your computer. |
Disabling Power Saving Features and Checking RAM
To fix Windows 10 computer freezing up constantly, you can try disabling power saving features and checking RAM.
To disable power saving features, follow these steps:
1. Open the Control Panel.
2. Select “Power Options.”
3. Click on “Change plan settings” for your current power plan.
4. Choose “Change advanced power settings.”
5. Expand the “Sleep” settings and set “Sleep after” and “Hibernate after” to “Never.”
6. Click “Apply” and then “OK.”
To check RAM, use the built-in Windows Memory Diagnostic tool:
1. Press the Windows key + R to open the Run dialog box.
2. Type “mdsched.exe” and press Enter.
3. Choose either to restart now and check for problems or to check for problems the next time you restart.
These steps can help resolve freezing issues on your Windows 10 computer.

